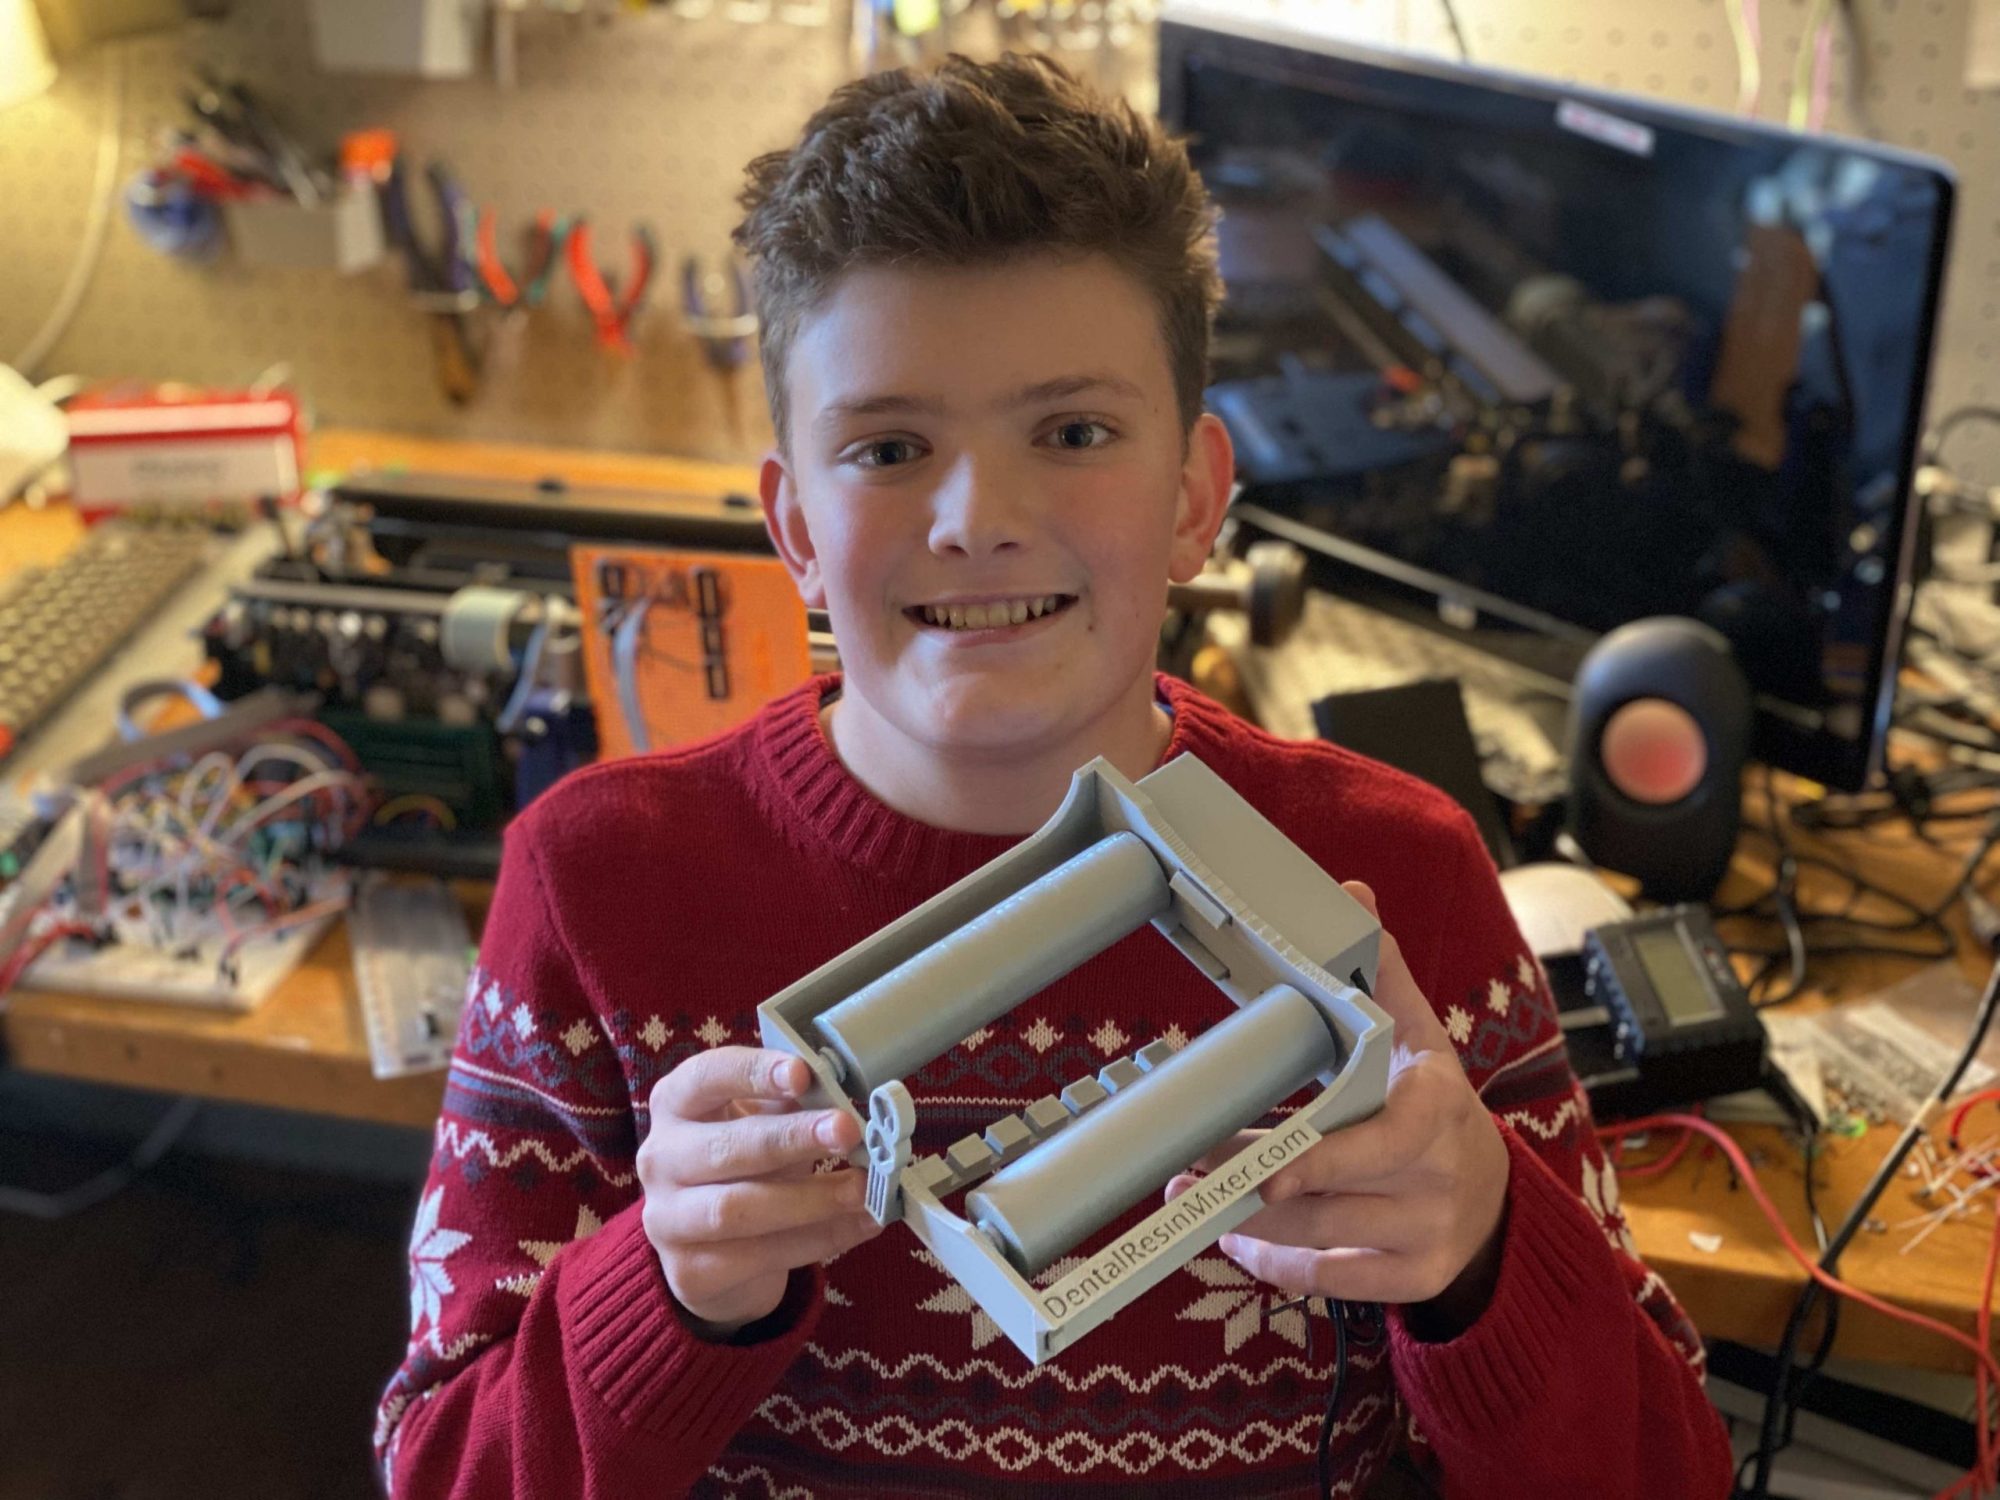
Hi! I’m a Boy Scout in Texas, and I enjoy 3D printing and electronics. These things naturally merged to create the Dental Resin Mixer, an offshoot of one of my previous inventions. So, here is some more about how it is made:
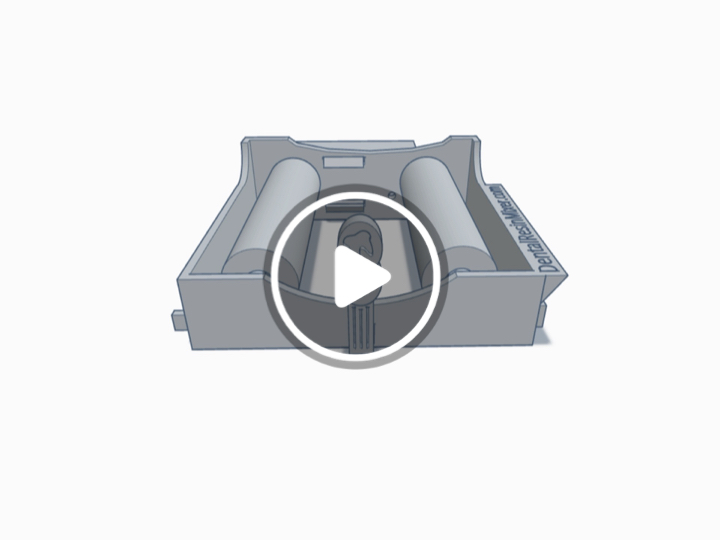
First, I design a prototype in Tinkercad, a software by the company Autodesk. You pick shapes, and combine them in various ways to make a model, which you save to a special type of file. The model looks like this:

Then, you send the file to the printer. A 3D printer works by depositing a special type of plastic, which has been melted by the extruder module. The print takes about 13 hours to complete.
Once the print is complete, I file down any sharp edges and snap the rollers into place. Then I oil the sockets where the rollers sit. Next, I snap in the motor and solder it into place. Soldering is where you melt a special type of metal, (a mixture of lead and tin), and apply it to wires, creating an electrical connection. Then, I install the motor clip, and coat the roller with a tacky substance to grip your bottle of dental resin.
Finally, I pack your mixer for shipping, seal and label the box, and ship it to you!
